A touch of back to the future with this one. The latest completed dress (started Nov 13 finished Monday this week - 10-03-14) is the Vogue 8872. It mainly took so long for two reasons 1) the sleeves and not wanting to rush/mess up 2) it fitted beautifully prior to Christmas...however, excess indulgence at this time resulted in expansion of the butt! meaning that it pulled "slightly" and sitting could have prove damaging for the dress and equally my reputation!! Note - butt shrinkage didn't happen so resorted to letting out the frock out 1/4 inch!!!
The previous make had used in the full skirt version, see Blue Spotty ... Think this is one of the first times I have used a pattern again, only because there are SOOO any fab patterns out there and have some sort of "Obsessive Compulsive Disorder" to try as many as humanly possible!
I totally loved the corset/midriff section on this and because I'd learnt from the pattern construction first time around, I was keen to put these points into fruition. The fabric was bought back in the summer last year when shopping for curtain fabric- the shop had a small dress-making section and well... it would of been rude not too + its where I found my first jersey fabric too. It was also a forgone conclusion @ £3.99 a mtr so X 3mtr/£9.00 later it was a great bargain - especially since I only needed just under 2mtr, leaving plenty for another make Yeah!
The cowl neck was self facing so the pattern piece looked pretty odd but once the instructions were read it draped so naturally.
I was very particular too get all of the seam lines to meet and sit correctly -and trimmed each one to an 1/2 cm of it life ( might have been a bit too close, but time will tell!)
although this was going to e a formal dress I still wanted to give it some distinctive details, hence the navy satin bias piping through the front of the mid-riff.


As this make was started back in Nov 13 the addition of sleeves seemed the 'natural' thing to do but in a contrast fabric. I envisaged chiffon type sleeves with elasticated cuffs. I have to admit that the final result were a second attempt, as the first were in a much finer chiffon but the finished result was eemm okay but a fraction too fitted; the intention was to have quite floaty, puffy sleeves. Not wanting to rush and spoil it, I placed.. yes placed to one side and waited until I could get more fabric to do them just how I had planned.
One more metre of fabric purchased -- OH twaddle it was different to the original- hey ho not going to get too hung up on this- I went with the sleeve pattern of V8857 - I made this up mid Jan 14 (an item yet to be shared..coming soon)

To fit the sleeve opening and ensure a fuller effect the sleeve cap was split and spread.
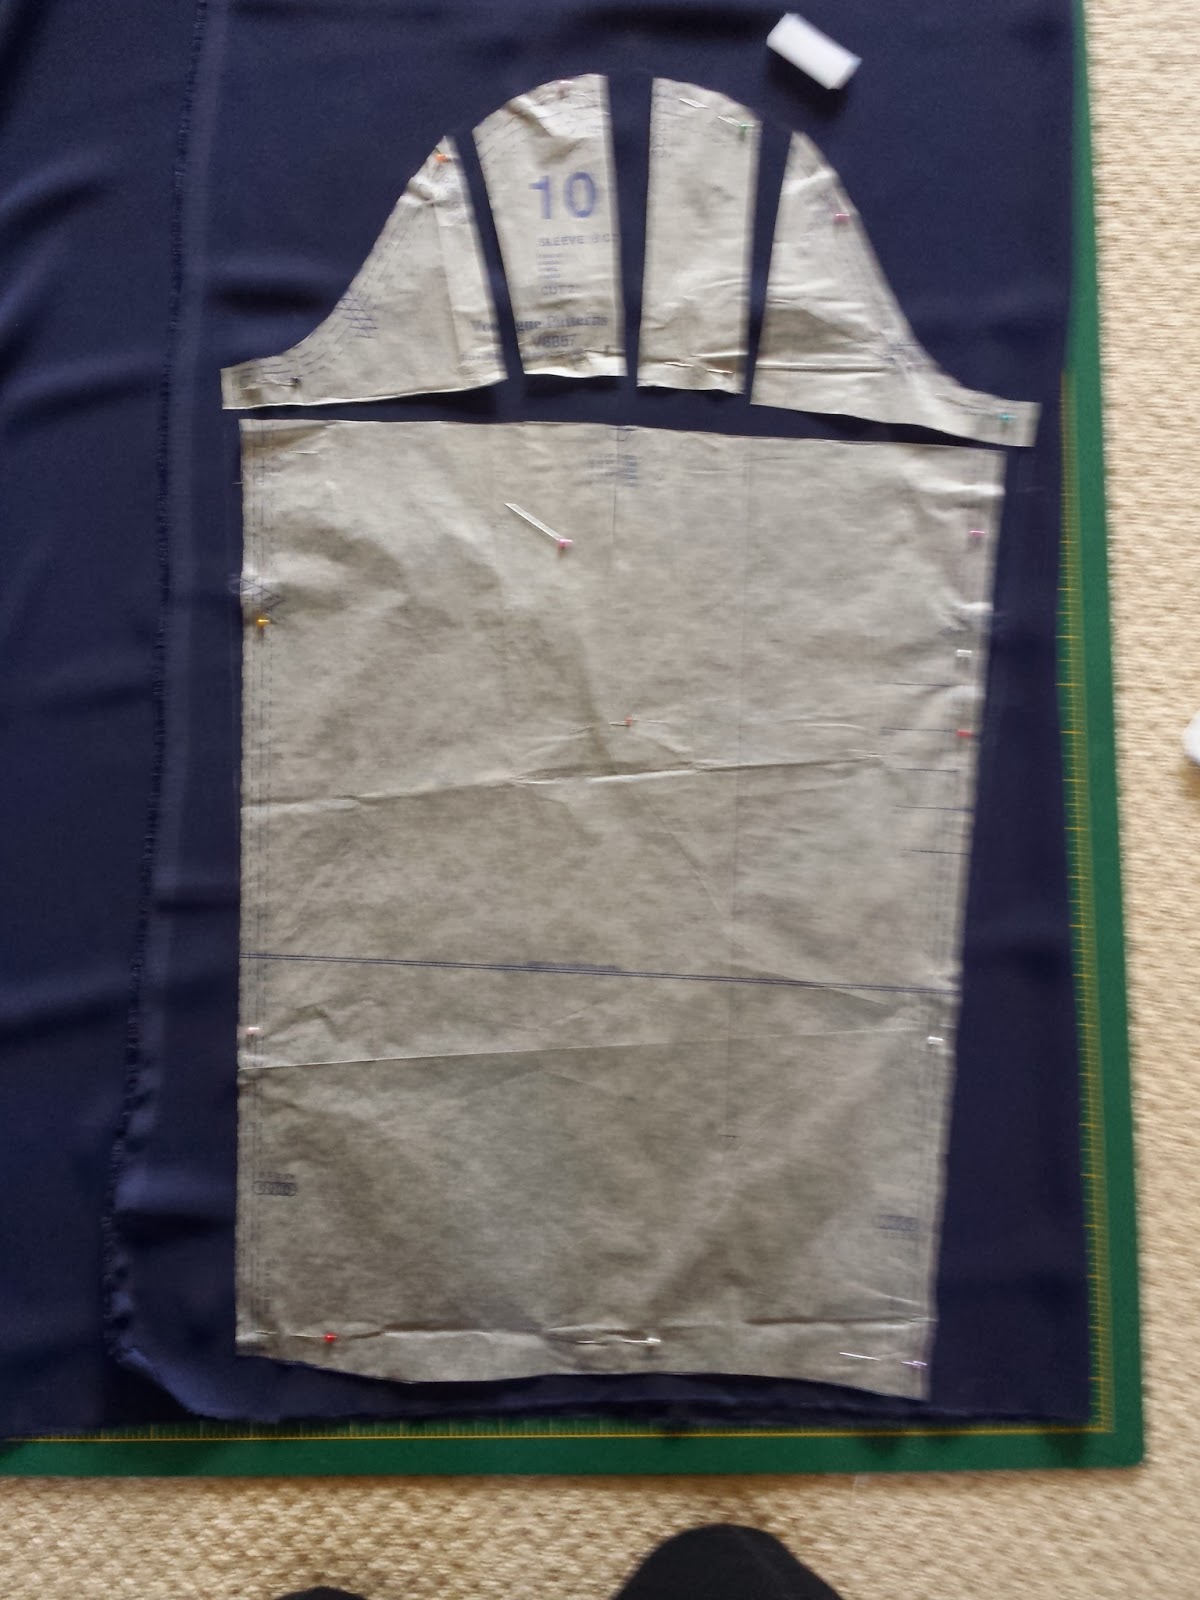 |
| Split the sleeve cap for a fuller look |
 |
| Self edge cuff |
Couldn't find buttons to suit the cuff area so went with self covered - I find these really quite frustrating as they always seem to ping off or go skew just as your trying to secure the last bit of fabric inside the teeth- until a eureka moment... 505 temporary spray! how blummin simple, one shot and it holds the button steady while you secure the outer edge! "marvellous"
The hand sewn button loops were also an adapted version- I tend to use a double piece of shearing elastic as the loop, giving a little stretch for when looping over the button ( can be fiddly fastening yyour own button on the wrist) I then chain stitch around the elastic using top stitch thread or embroidery yarn as it is a little thicker for coverage.
 |
| Self Covered buttons - pretty cool ye! |
 |
| Hand sewn button loop |
The inside was fully lined ( of course - my pet love) I do like a fully lined garment:)

 |
| Valerie with VPL! |


No comments:
Post a Comment